How to Use a Green Screen
Using a green screen, also known as chroma keying, is a popular technique in video production that allows you to replace the background of a scene with any digital image or video. Whether you are creating a film, recording a video podcast, or producing a corporate presentation, green screens offer endless creative possibilities. Here are some tips to use a green screen effectively in your video productions:
Set Up Your Green Screen Studio
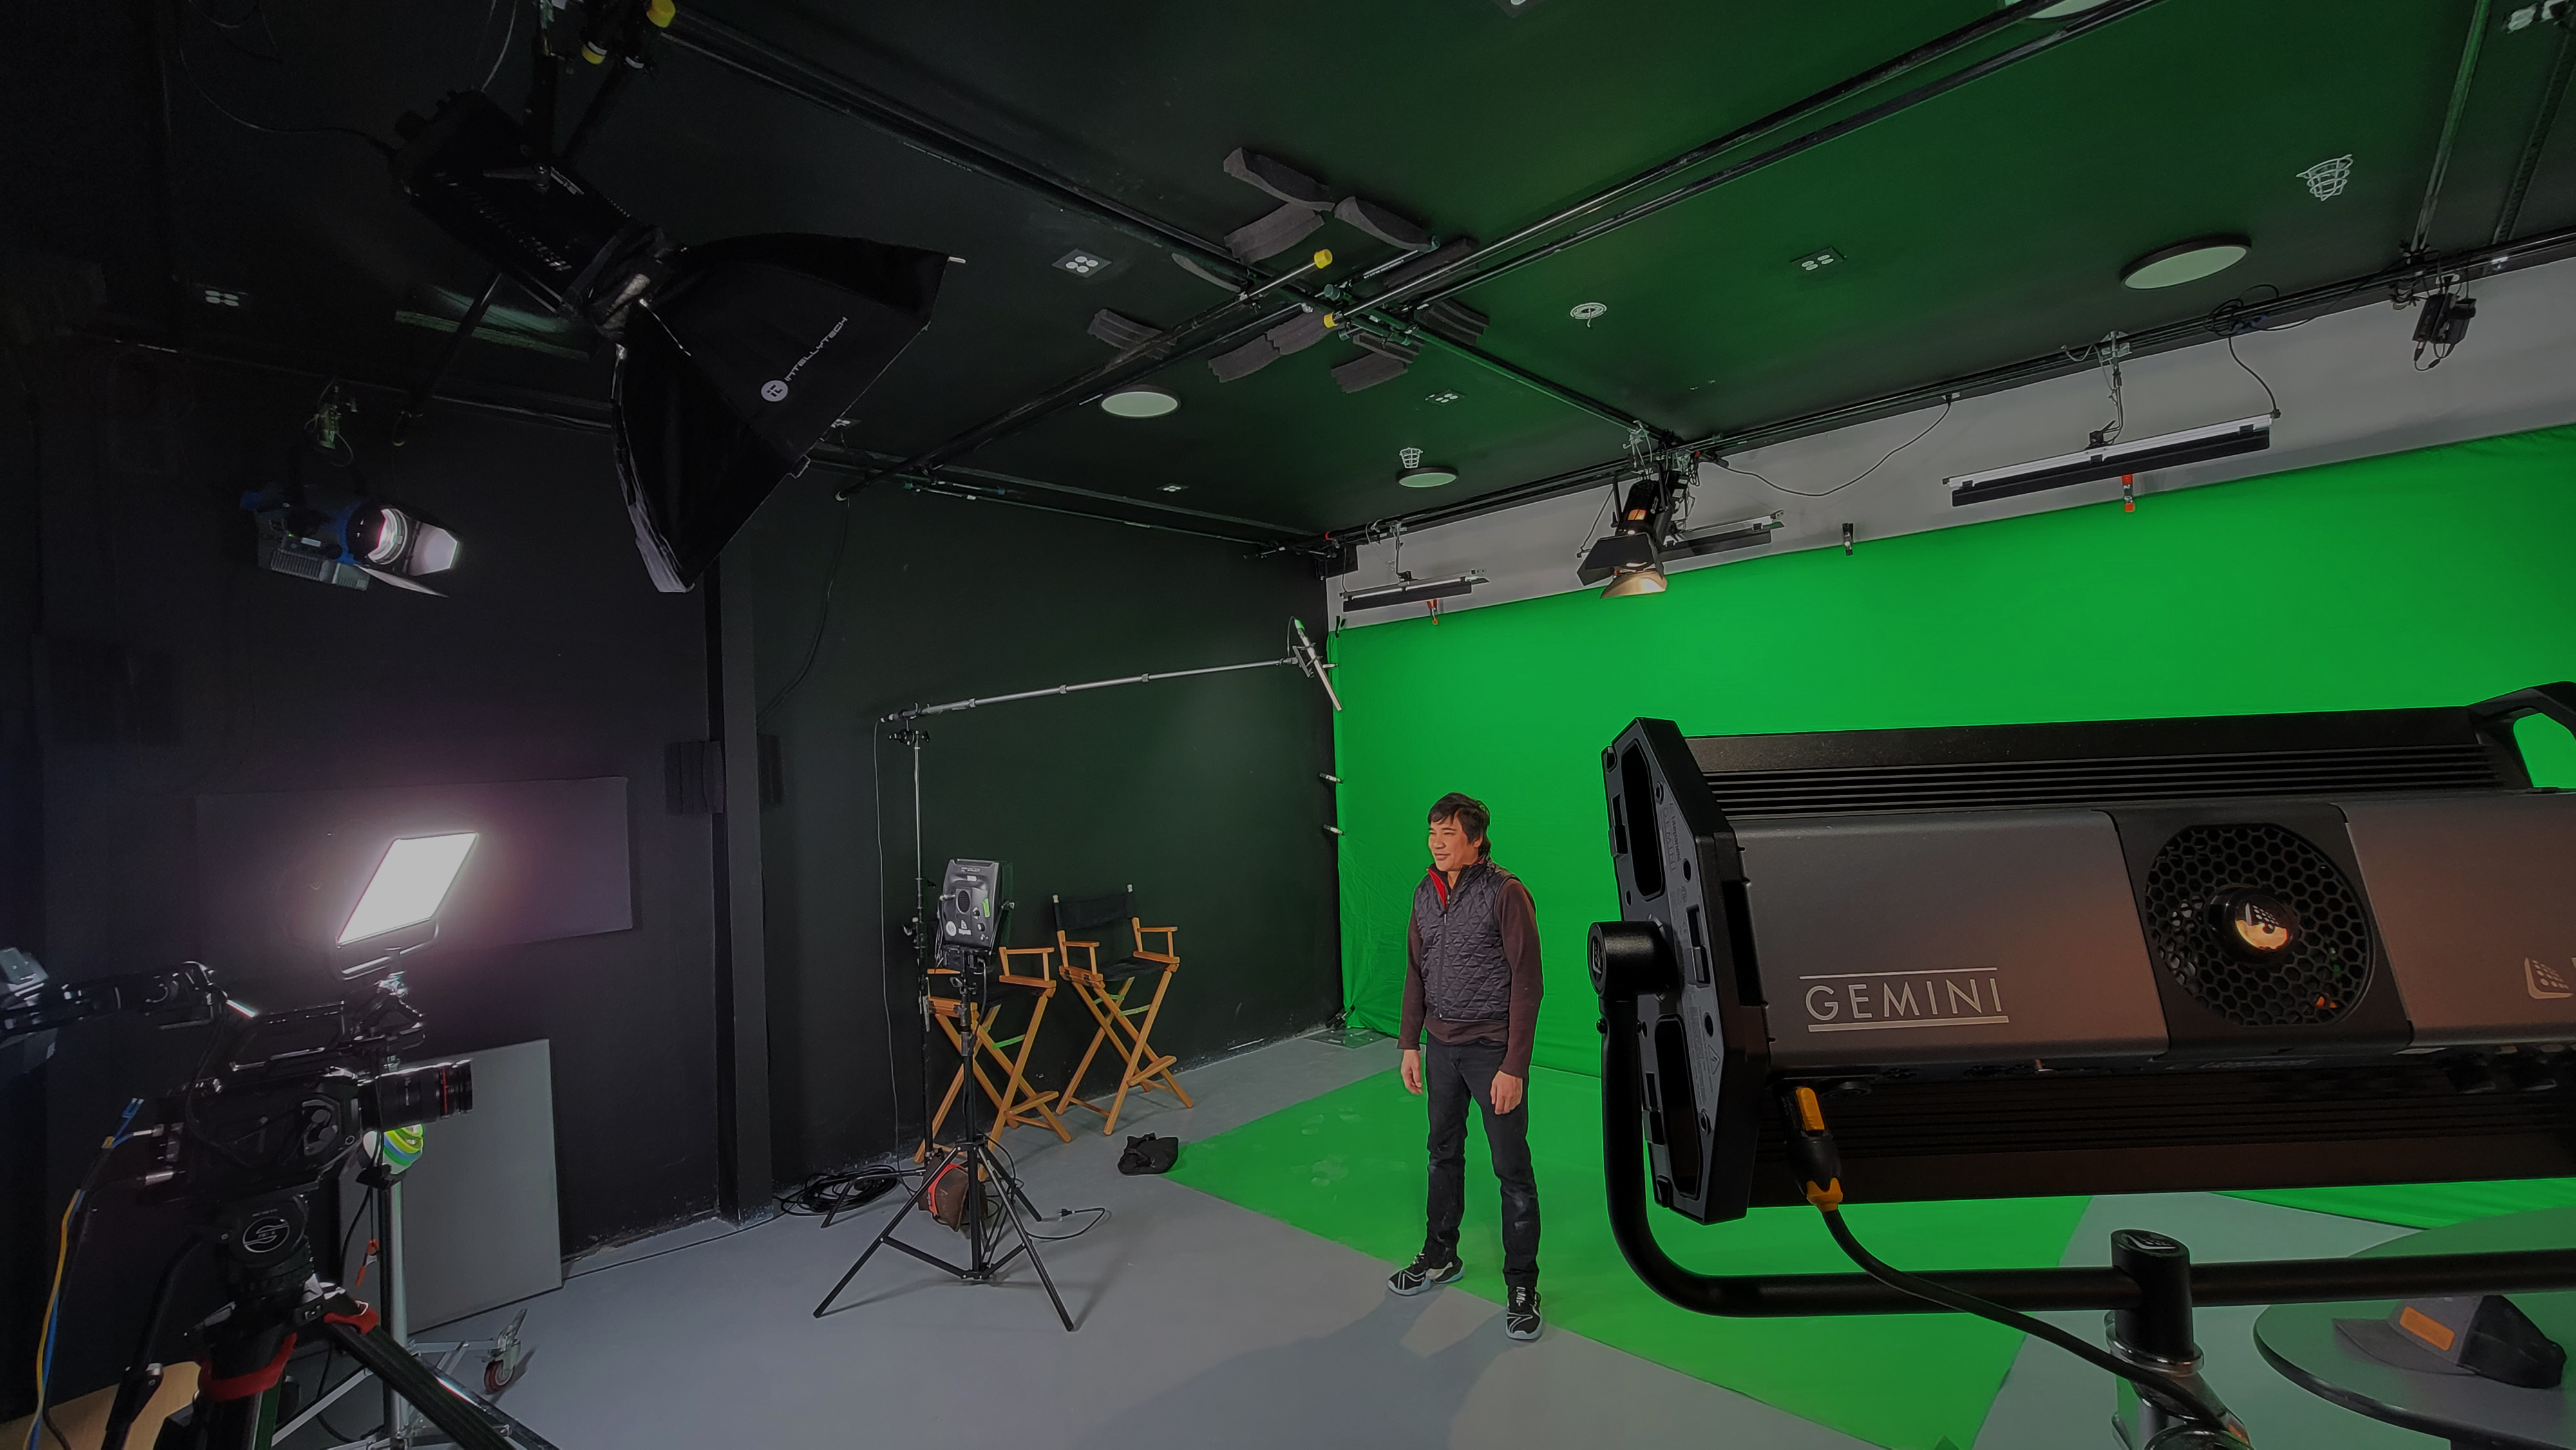
Start by setting up a dedicated green screen studio or area where you can shoot your videos. Ideally, choose a space with ample room to position the green screen backdrop and accommodate your camera, lighting equipment, and talent. Ensure that the green screen is free from wrinkles, creases, or shadows that could affect the quality of the chroma keying process.
Choose the Right Green Screen
Select a high-quality green screen fabric or material that is evenly colored and free from wrinkles or imperfections. Popular options include green muslin, chroma key fabric, or green screen paint applied to a smooth surface. The key is to use a shade of green that contrasts with the colors of your subject and is easily distinguishable by your editing software.
Light Your Green Screen Properly
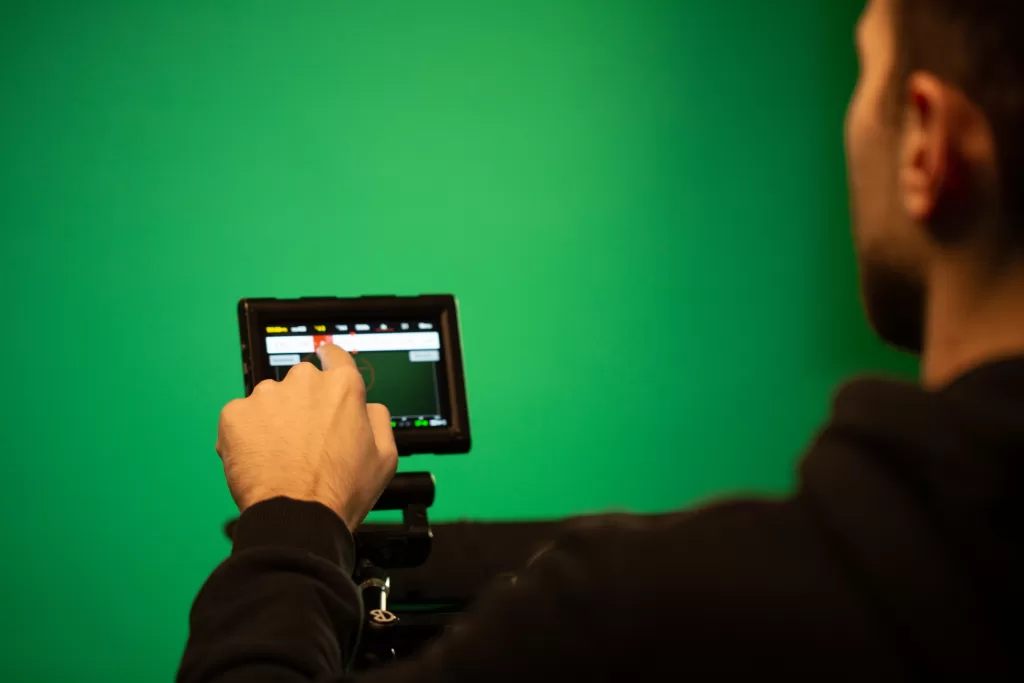
Proper lighting is important for achieving a clean and seamless chroma key effect. Set up your lighting equipment to evenly illuminate the green screen backdrop without creating shadows or hotspots. Use soft, diffused lighting to minimize harsh shadows and ensure consistent color saturation across the entire green screen surface. Position additional lights to illuminate your subject and separate them from the background. Choose a professional video production studio in San Francisco that provides well-maintained green screens, but it is always wise to inspect the setup before committing.
Position Your Talent and Camera
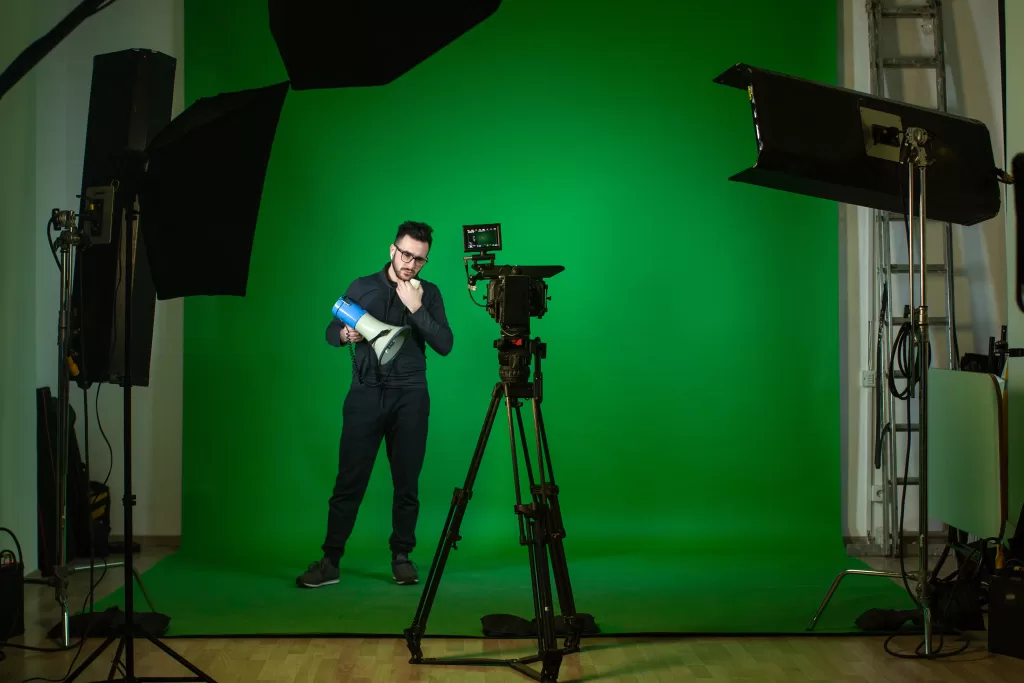
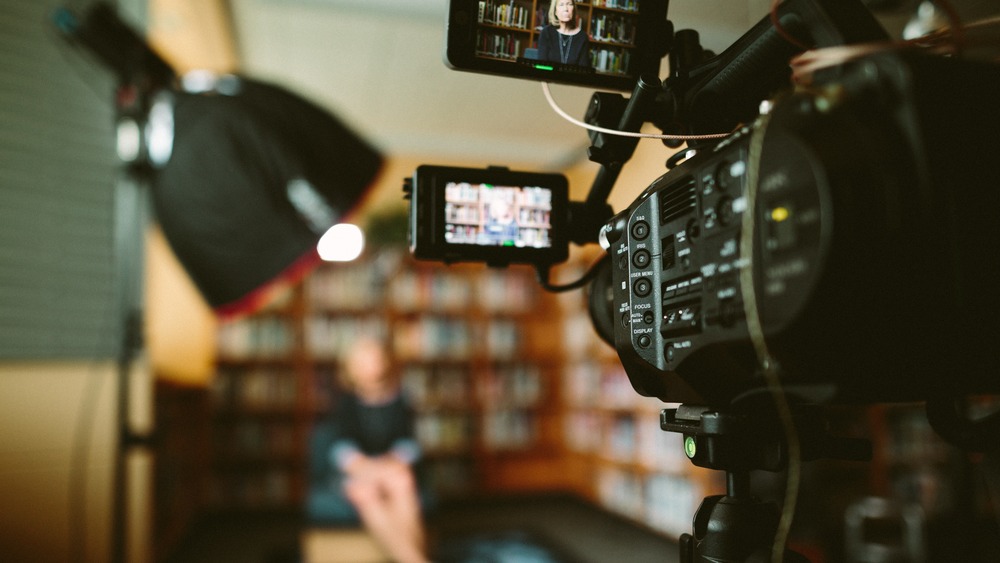
Place your talent or subject in front of the green screen, ensuring that they are adequately lit and positioned away from the backdrop to avoid casting shadows. Position your camera at the desired angle and distance to frame the shot effectively. Use a tripod or stabilizer to maintain stability and consistency throughout the shoot.
Adjust Camera Settings
Adjust your camera settings, including exposure, focus, and white balance, to achieve optimal image quality. Use manual settings whenever possible to maintain consistency and avoid fluctuations in exposure or color temperature. Consider shooting in a high-resolution format to preserve detail and flexibility during post-production.
Direct Your Talent and Capture Footage
Direct your talent or subject to perform their actions or deliver their lines while being mindful of their positioning and interactions with the green screen. Capture multiple takes from different angles and perspectives to provide flexibility during the editing process. Encourage natural performances and reactions to enhance the authenticity of the final video.
Edit Your Footage Using Software
Import your footage into video editing software that supports chroma keying, such as Adobe Premiere Pro, Final Cut Pro, or After Effects. Use the chroma keying tools to key out the green screen background and replace it with the desired digital image or video. Adjust settings such as key color, spill suppression, and edge refinement to achieve a clean and seamless result.
Fine-Tune Your Composite
Fine-tune your composite by adjusting parameters such as opacity, blending modes, and color grading to integrate your subject seamlessly into the new background. Pay attention to details such as lighting, shadows, and reflections to create a convincing and cohesive final image. Experiment with different backgrounds, effects, and compositions to achieve the desired look and feel.
Preview Your Final Video
Preview your final video to ensure that the chroma keying effect looks natural and seamless. Make any necessary adjustments to refine the composite and enhance visual quality. Once satisfied, render your video in the desired format and resolution for distribution across various platforms and channels.
Use High Quality Green Screen
Using a green screen in video production opens up a world of creative possibilities and allows you to transport your audience to virtually any location or setting. At San Francisco Green Screen, we have everything you will need for a perfect video shoot. Contact us today to learn more about our video production studio in San Francisco.
For more updates, Follow us on Instagram
Green Screen Technology: Transforming Your Vision into Reality
In the dynamic world of video production, creativity knows no bounds. Whether you are a filmmaker, content creator, or business looking to create engaging videos, the use of green screen technology in video studios has become a game-changer.
Green screen technology allows you to transport your audience to different worlds, create stunning visual effects, and bring your imaginative ideas to life. If you are ready to take your productions to the next level, video studio rentals equipped with green screens can be the magic wand you need.
Unleashing Creativity with Green Screens
By filming subjects in front of a green backdrop, you can later replace that background with any digital image or video during post-production. This technique opens up a world of possibilities, allowing you to place your actors in fantastical landscapes, historical settings, or even outer space.
With the right lighting and expertise, the green screen becomes an invisible doorway to imagination. Suddenly, a small studio space transforms into a vast, limitless environment where your storytelling prowess can shine. Video studio rentals make this magic accessible, offering the necessary space, lighting, and equipment for you to experiment and create.
Choosing the Right Video Studio Rental
When considering video studio rentals for green screen projects, there are essential factors to keep in mind. First, the size of the studio matters. A spacious studio allows for more flexibility in camera angles and movement, ensuring your scenes look natural and seamless. Look for studios with adjustable lighting setups to eliminate shadows and achieve the desired keying effect. Additionally, consider the studio’s location and accessibility. A convenient location saves time and resources, making your production process smoother.
Technical Aspects of Green Screen
To make the most of green screen magic, understanding some technical aspects is essential. Lighting plays an important role in achieving a clean key. Properly illuminate both the subject and the green screen to ensure a consistent color tone, making it easier to remove the background during post-production.
Moreover, pay attention to the quality of the green screen itself. Wrinkles or uneven coloring can complicate the keying process, leading to less-than-desirable results. A reliable video studio rental in San Francisco often provides well-maintained green screens, but it is always wise to inspect the setup before committing.
Post-Production Wizardry
Once you have wrapped up your shoot in the video studio, the real magic happens in post-production. Editing software allows you to replace the green background with your chosen imagery seamlessly. Pay attention to details like shadows, reflections, and color grading to ensure a polished and realistic final product.
Experiment with different backgrounds and effects to enhance your storytelling. Whether you are creating a product demo, a music video, or a short film, the possibilities are as vast as your imagination.
Explore the Potential of Green Screen Technology
Video studio rentals equipped with green screens empower creators to turn their visions into reality. At San Francisco Green Screen, we have everything you will need for a perfect shoot. Contact us today to know more about our video studio rental in San Francisco
For more updates, Follow us on Instagram
Why Audio Quality is Important for Broadcasting?
Radio, television, podcasts, and other forms of media all require high-quality sound to function properly. Audio quality directly affects the experience of the listener or viewer, it can determine the success or failure of a broadcast. Here are the reasons why the sound quality is important for broadcasting and the reasons why it should never be ignored.
Improves Clarity
The main purpose of broadcasting is to effectively convey the right message to the target audience. To accomplish this goal, audio clarity and understanding are essential. It can be difficult to understand what is being said if the sound quality is poor, and the message may be lost. Therefore, broadcasting requires clear audio to convey the message properly.
Audience Engagement
Broadcasting is a powerful way to connect with your target audience. When you broadcast with high quality sound, it will catch the audience’s attention and keep them engaged for a long time. However, poor audio quality can be distracting and can cause people to lose interest quickly. To ensure high audience engagement and retention, it is important to choose high audio quality for video broadcasting.
Level of Professionalism
Sound quality is a sign of professionalism in broadcasting. It shows the quality of the production as well as the effort put into the content’s creation. Audio broadcasts of high quality are regarded as professional, which can help in building audience trust and credibility. On the other hand, poor sound quality can harm the professionalism of the broadcast and damage the reputation of a professional broadcaster.
Building Brand Identity
Sound Stage Production in San Francisco plays an important role in building a broadcaster’s brand identity. Consistent sound quality is an important part of brand identity and can help the broadcaster stand out from the competition.
Ease of Accessibility
It is the responsibility of every broadcaster to ensure that their video content is available to all, including those with hearing disabilities. Closed captions, subtitles, or transcripts in high quality audio broadcasts can make the content more accessible to a broader audience. Poor sound quality can make it difficult for people with hearing impairments to follow the content.
Technical Compatibility
For audio quality, broadcasting platforms have specific technical requirements. Broadcasters, for example, must ensure that their audio satisfies certain broadcast standards, such as loudness levels, encoding formats, and compression.
Audio broadcasts of high quality that meet these technical requirements will be compatible with a wider range of broadcasting platforms, which can help in improving the reach and impact of your quality content.
Broadcasters should invest in high-quality audio equipment, and the necessary technical expertise to ensure that their audio quality meets the highest standards. With the right Broadcast studio in San Francisco, broadcasters can create content that is both engaging and effective, and that will help them to achieve their broadcasting goals.
Choose Quality Sound Stage Production in San Francisco
Audio quality is an important aspect of broadcasting. If the sound quality is poor, the quality of the video is compromised and this might lead viewers to stop watching it. Get effective sound stage production solutions with us! Contact us today to know more about our sound stage production studio in SF.